Introduction to Computer-aided Architectural Design 3D
To mail questions or comments please click here
A FormZ Design Session
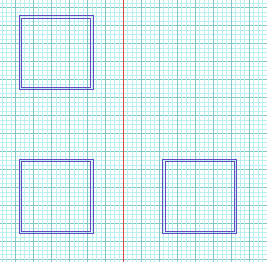
Setting up
- Select the desired units from the Working Units in the Options
menu
- Select Top from the Views menu (to work in plan).
- Select 1-16' scale (or whatever fits you)
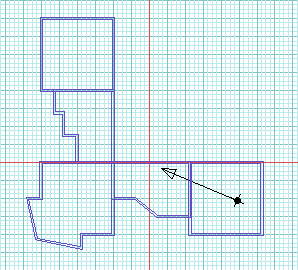
Creating the ground floor wall structure
Saving the file
- Goto File menu and select Save
- Give the file a meaningful name
- Save it as a .fmz file
Inserting openings/holes
Save the file
Creating the ground floor ceiling
- Change you view to Top
- Select the parallel extrusion modifier

- select the polyline tool
 .
.
- Select a 1' height.
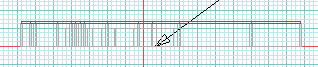
- Trace the boundaries of the building
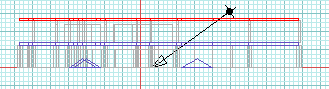
- Change you view to Front
- Select object from the pick modifiers
- Pick the ceiling object
- select the move tool
- Move the ceiling object to the top of the wall structure.

Save the file
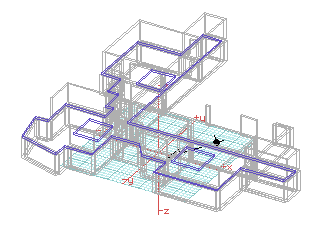
Ghosting the new objects
- Select Ghost from the attributes menu.
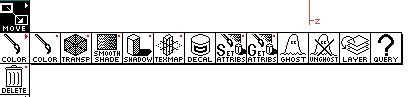
- Select all the objects you want to ghost (they will be visible but
not pickable)
- (To unghost them select the Unghost icon and pick the objects to unghost)
Save the file
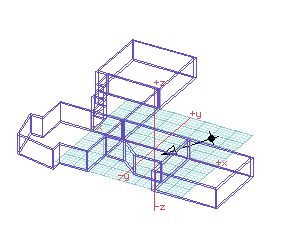
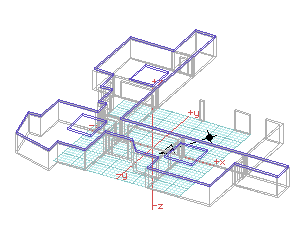
Creating the first floor
- Change your view to Top (plan)
- Unghost the ground floor
- Pick the ground floor (makes it active, shown in red)
- Select Duplicate from the edit menu (makes a copy of the active object)
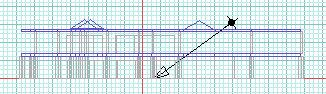
- Change your view to Front (elevation)
- Move the first floor on top of the ground floor.
Save the file
Do the same for the ceiling of the first floor.
Save the file
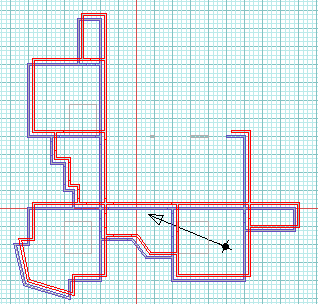
Adding pitched skylights
- Change your view to Top
- Select the convergence extrusion from the creation modifiers

- Select the height to be 4'-0"
- Select the rectangle tool

- Draw the three pitched roofs
- Change your view to Front
- Move the objects to the proper height
Save the file
Creating a presentation
- Choose a view that shows the whole building (30-60 for example)
- Select Render Shaded for the Display menu to preview the building rendering
- If happy go to Underlay in the edit menu
- A dialogue box will appear
- Choose Show Underlay
- Then select a file (sky, clouds) or some other background file
- (For a Mac you need a TIFF or PICT file
- For a PC you need a .tif or .tga file
- Check the notes on photoshop
to handle that)
- Get out of the dialogue
- Select RenderZone for the Display menu


- Save the file as a tif or pict view (it is in the save as.. in the
file menu)
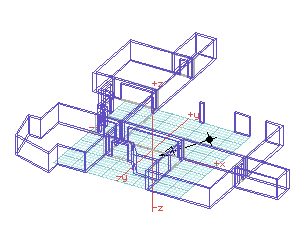
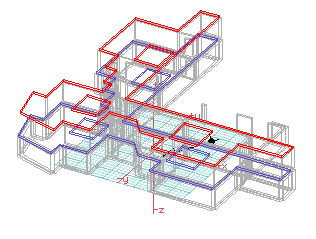
Creating an exploded perspective
- Change the view to Front
- Move the objects to be exploded (in this case the floors) in different
heights

- Select a 30-60 viewing angle
- Select Perspective from the View menu
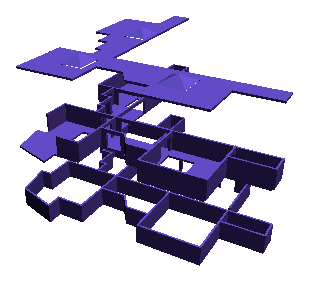
- Goto "Creating a presentation" (see above)